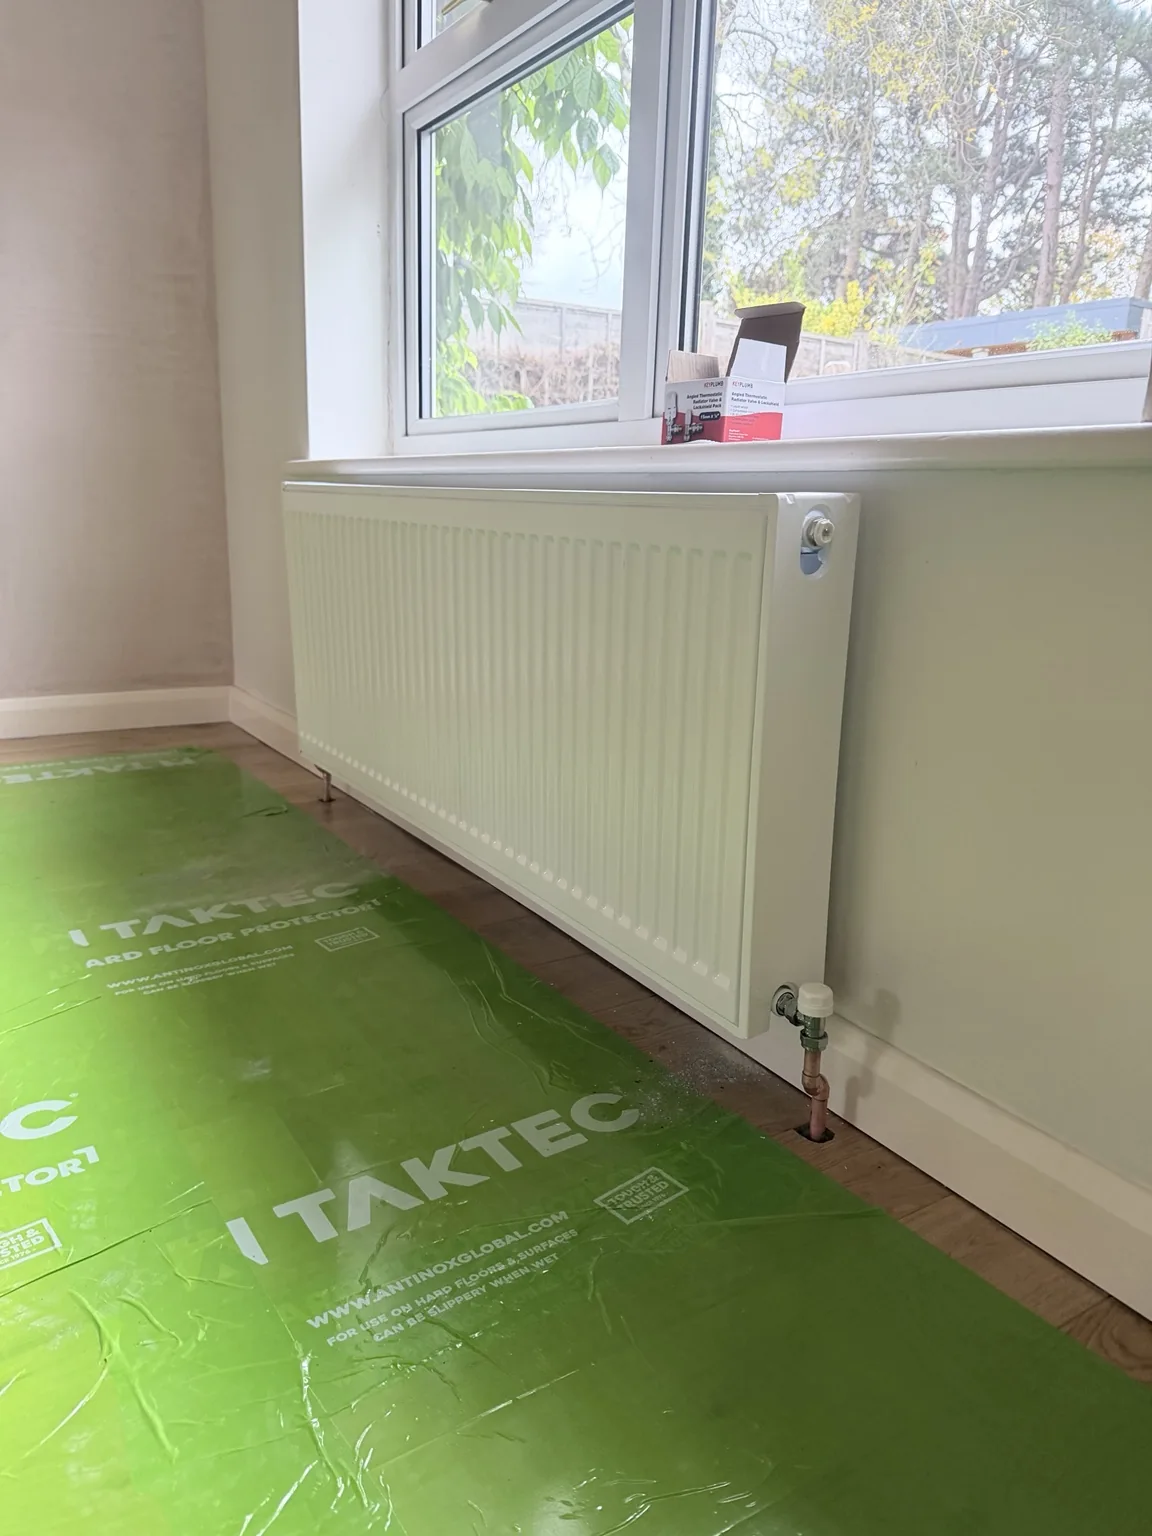
Replacing radiators without lifting the wood floor
New radiators, adapted copper pipework and a balanced heating system, with the homeowner’s engineered wood flooring left in place.
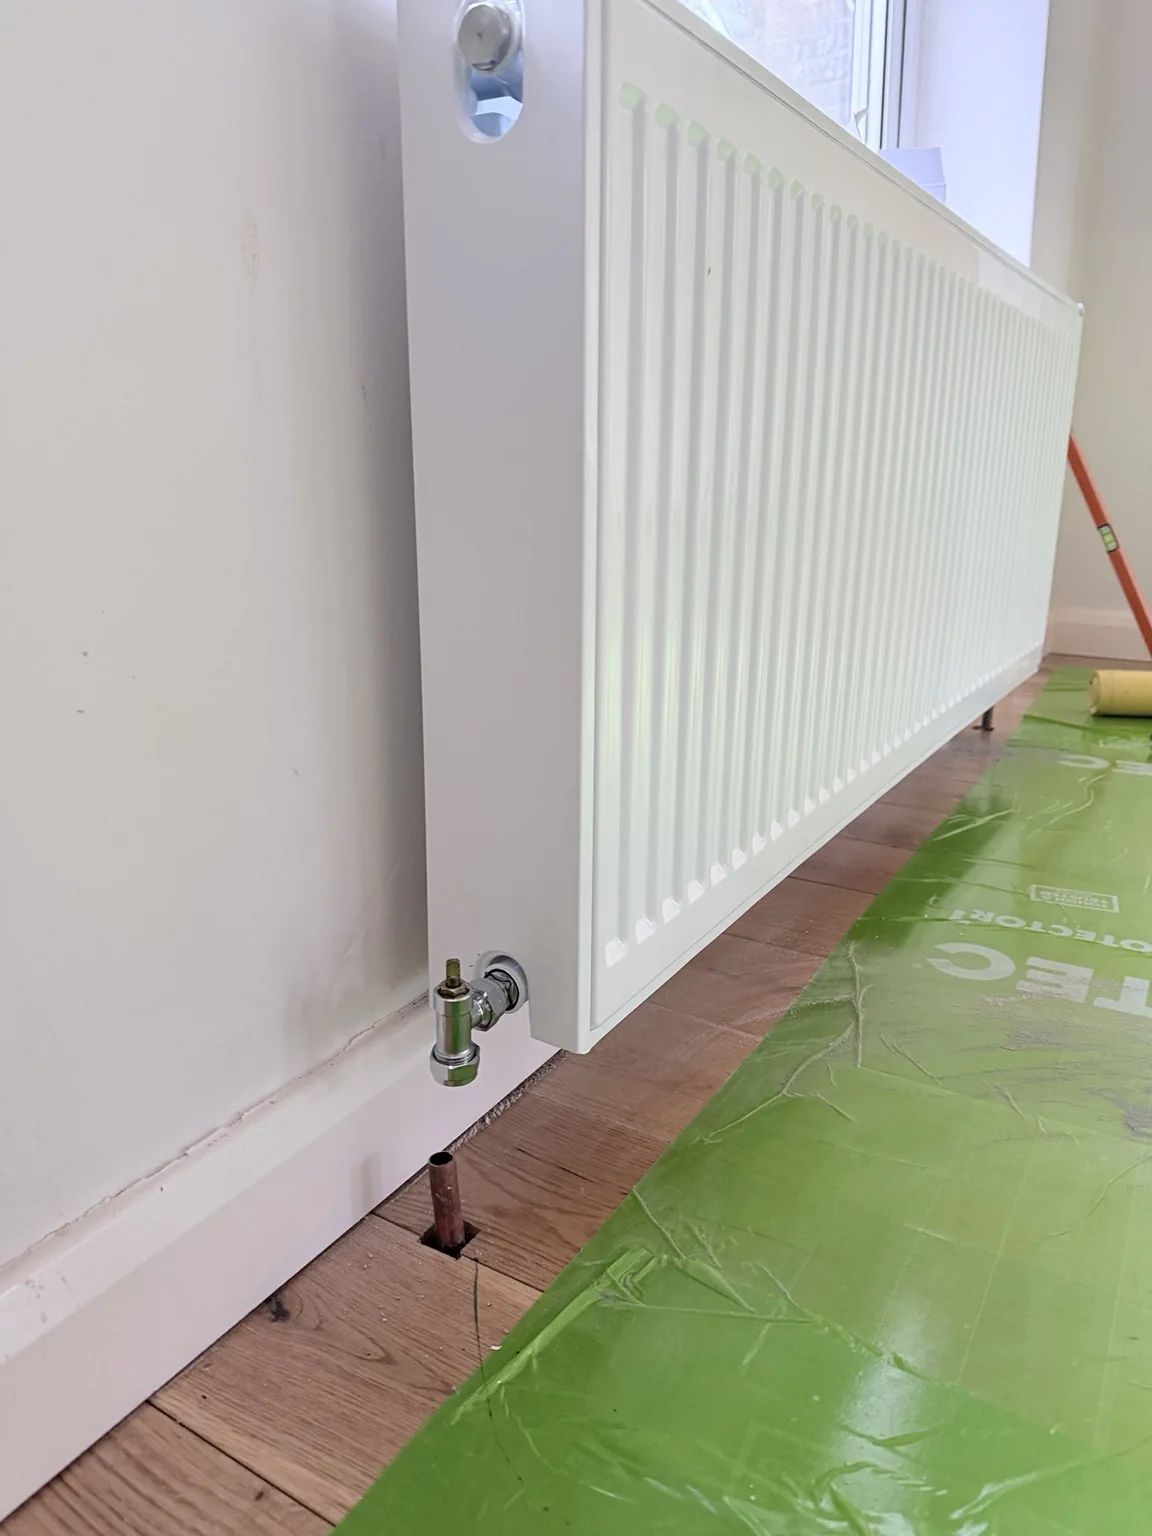
The existing radiators had different bracket and valve positions from the replacements. The homeowner’s priority was to keep the floor undisturbed, so we planned the new connections around the existing pipe openings.
Enquire about radiator replacement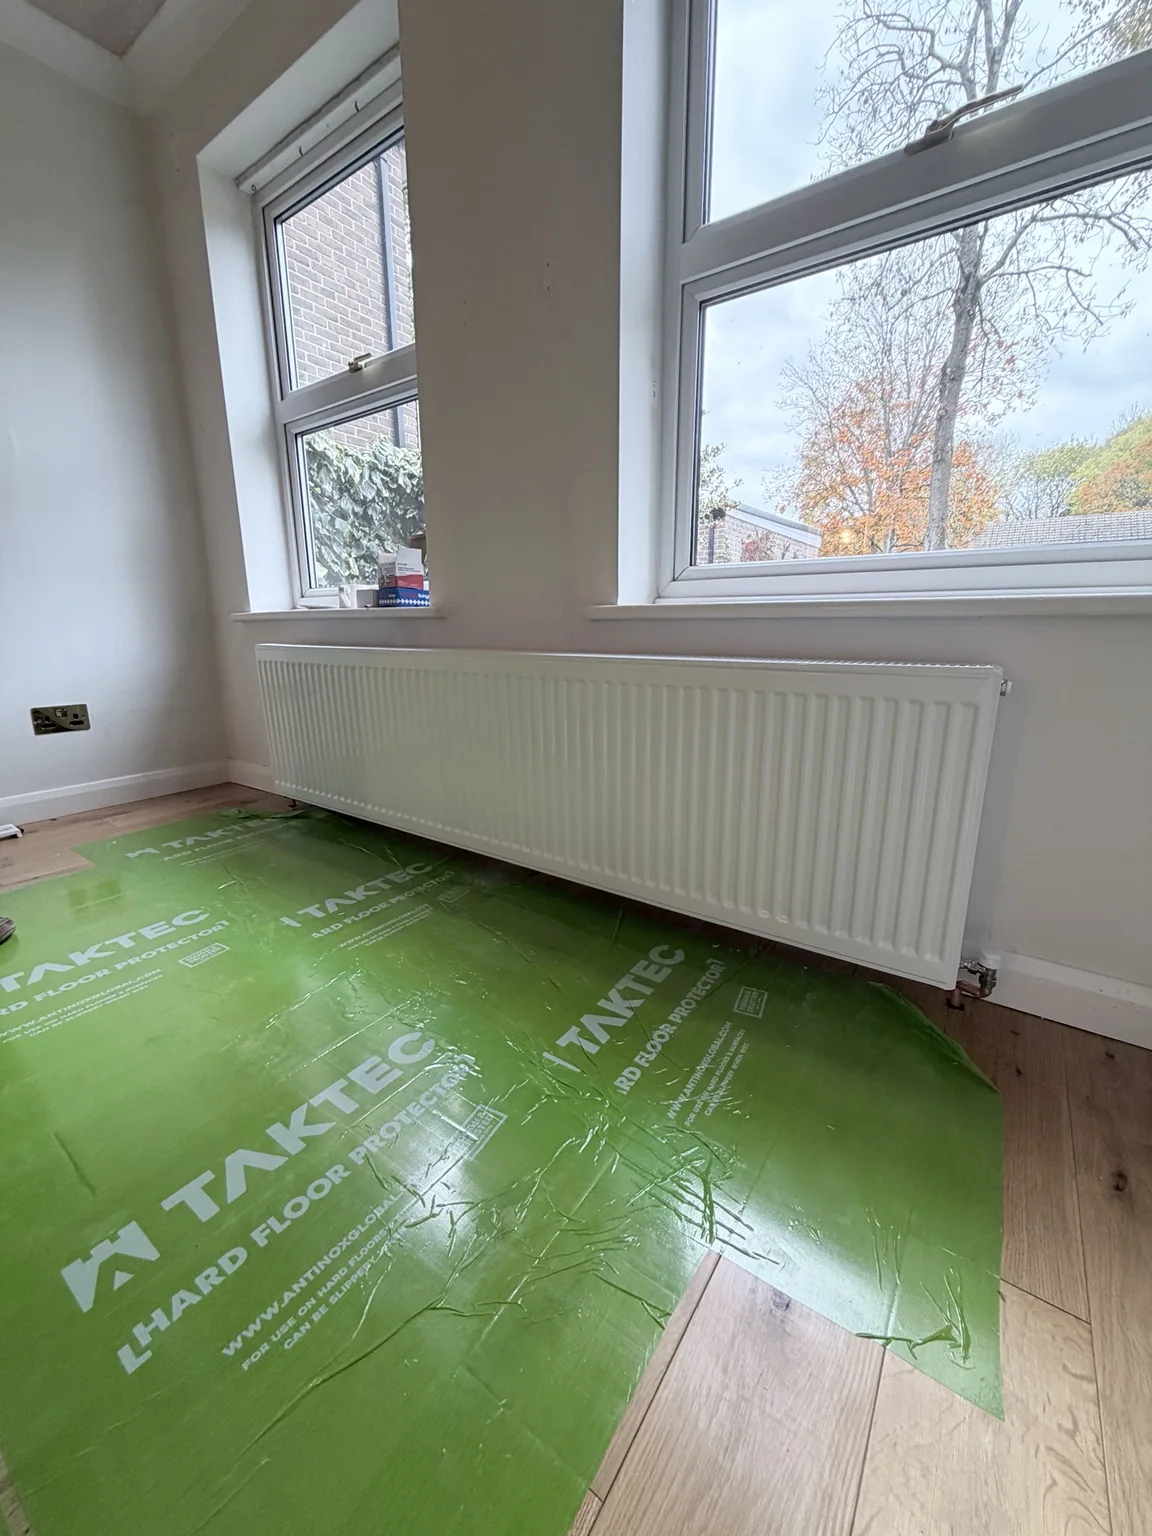
Protecting the engineered wood floor
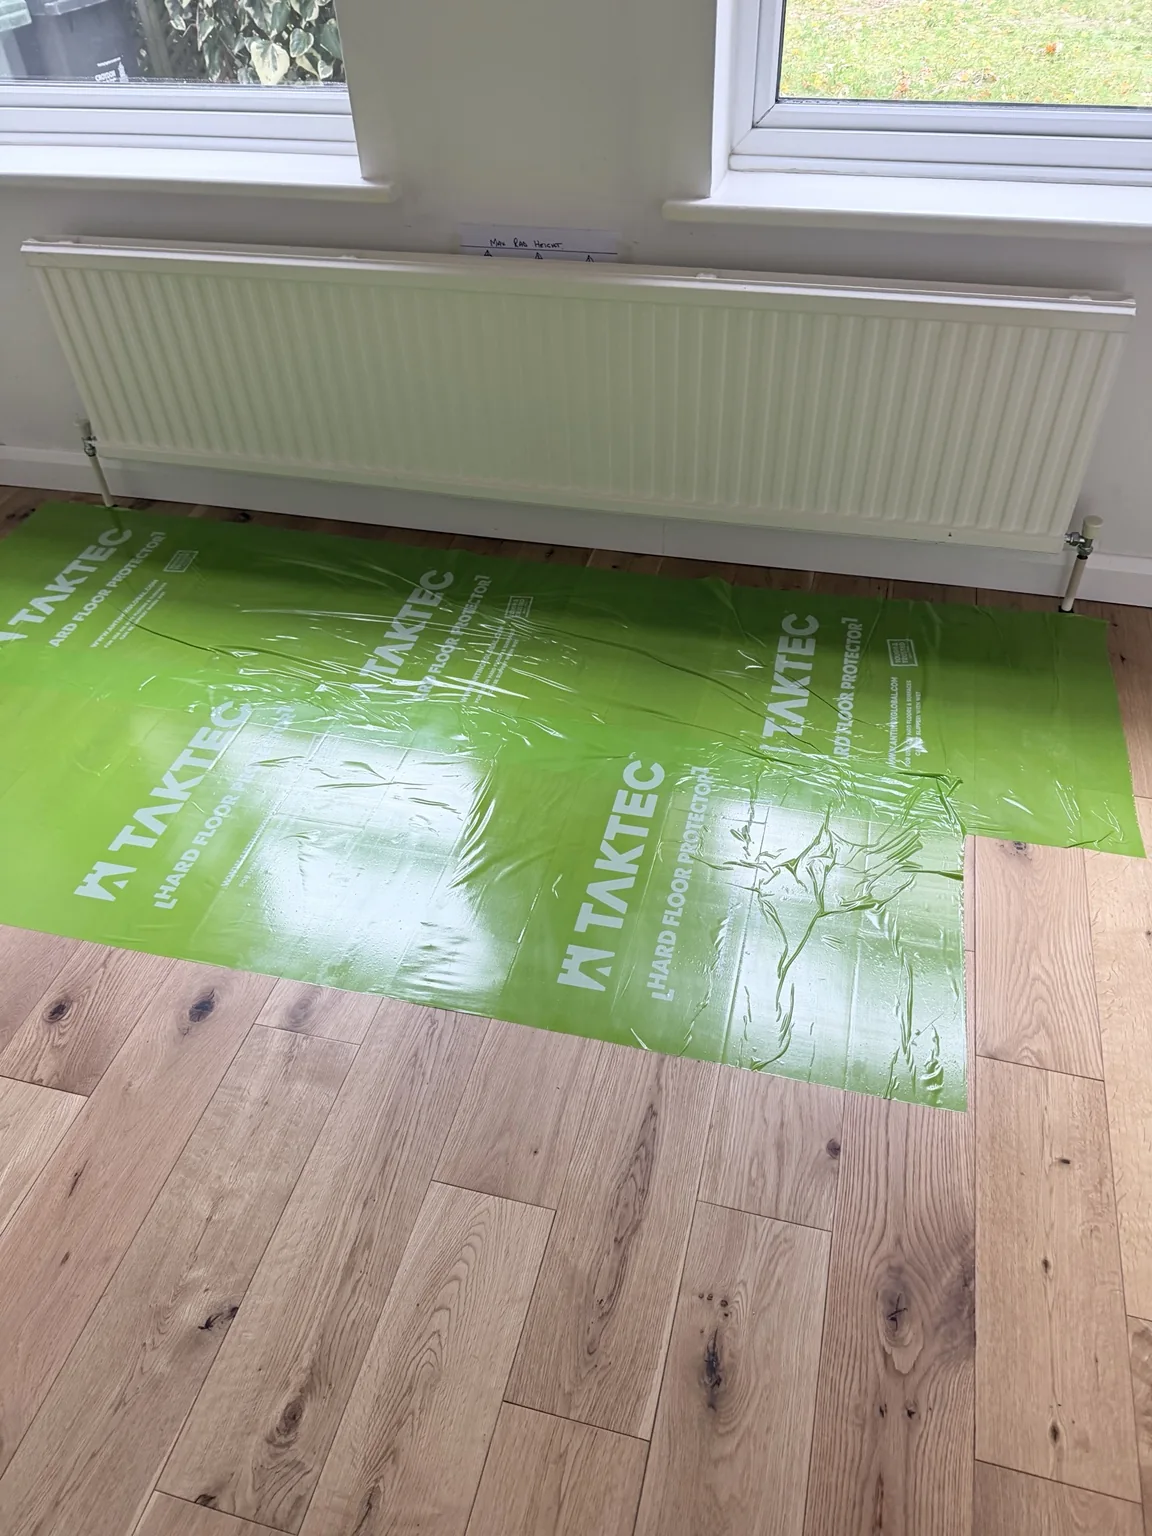
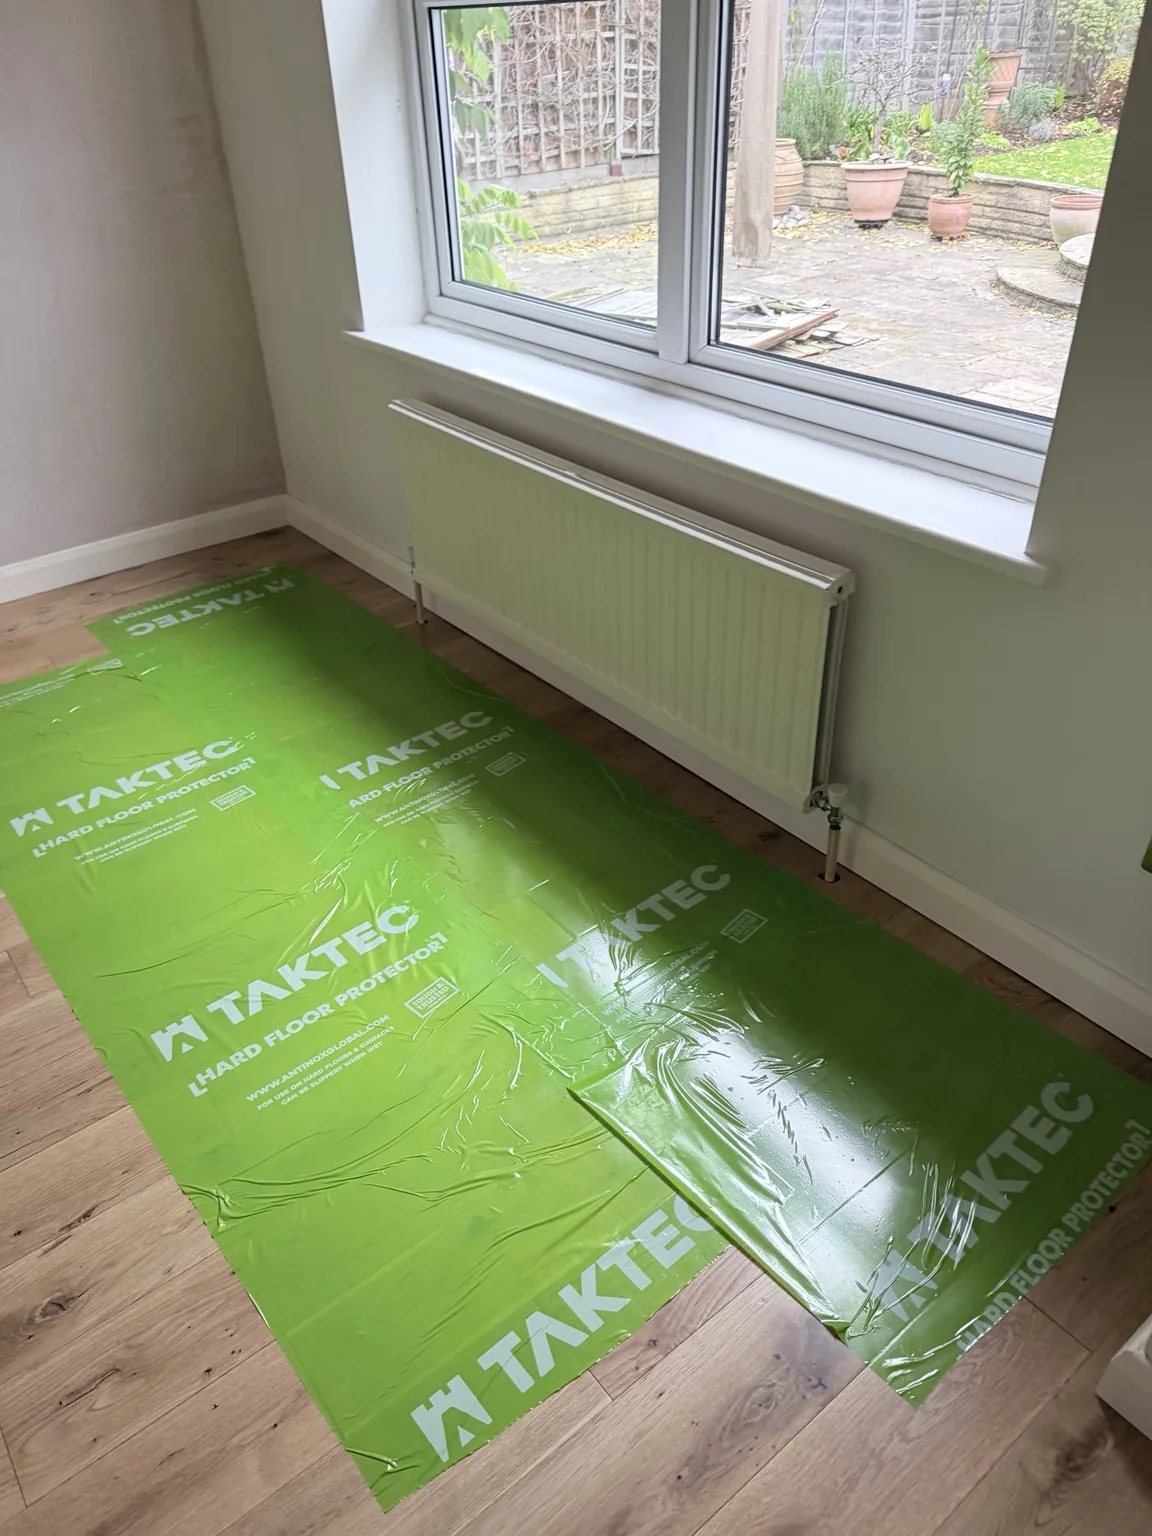
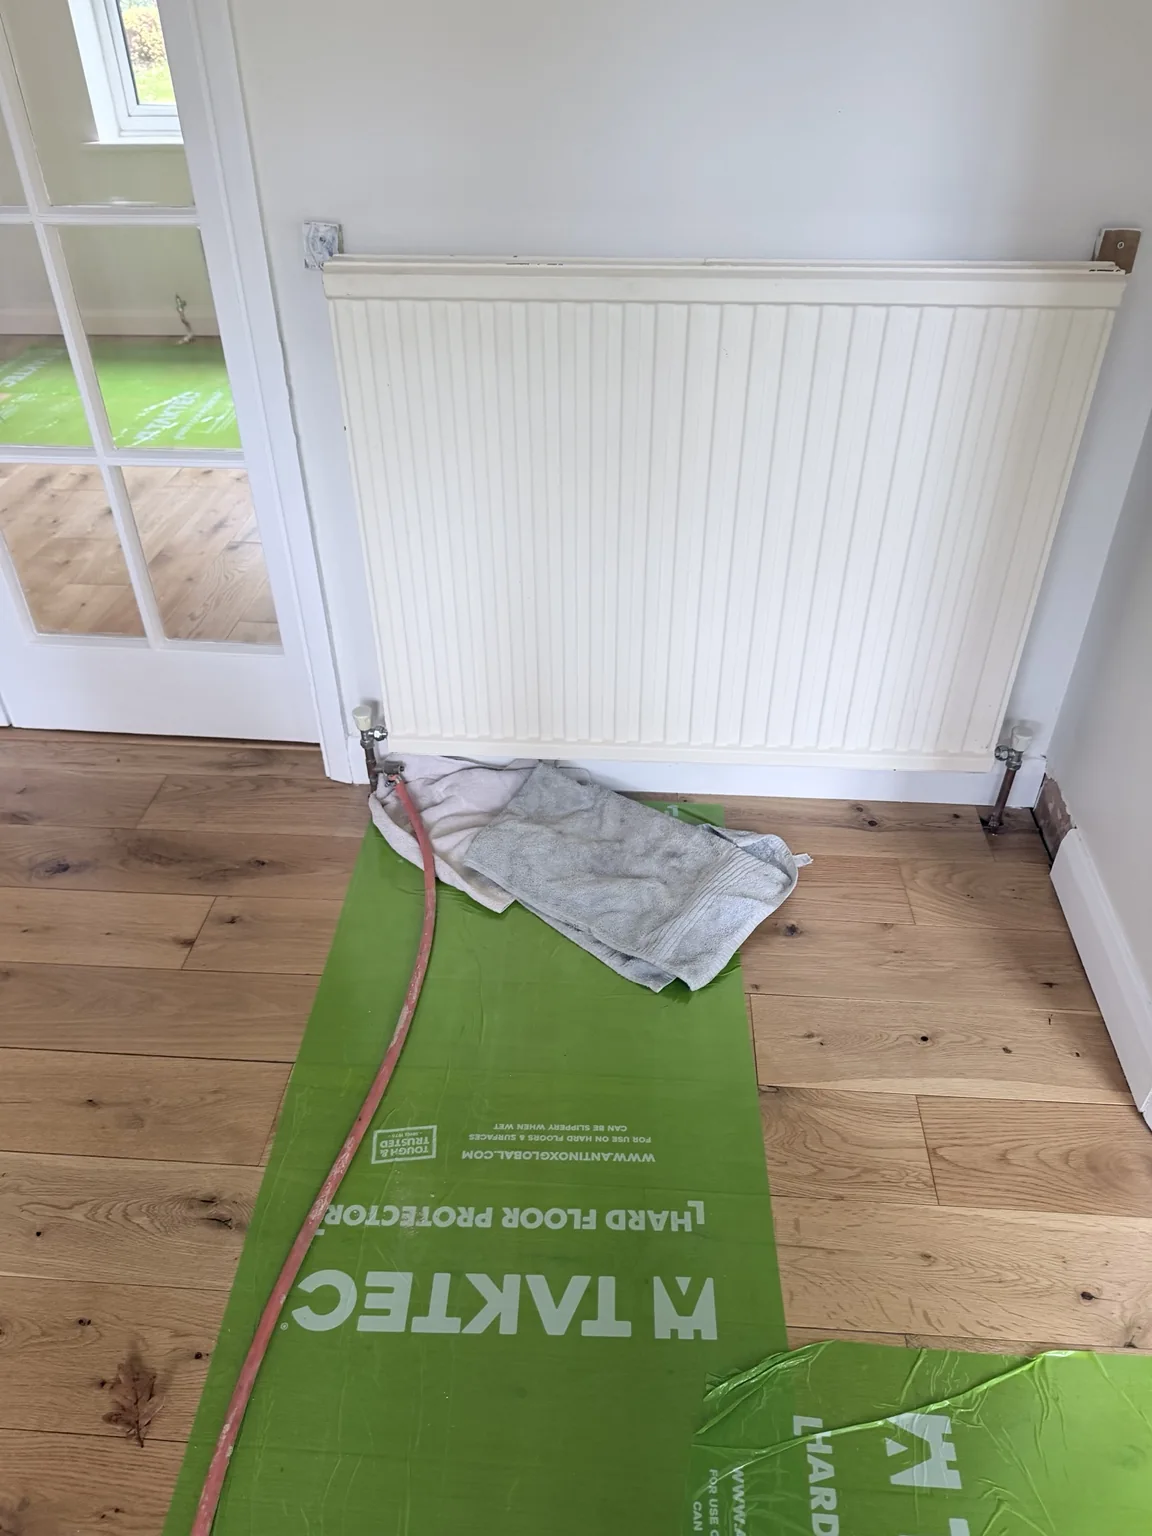
Before starting, we covered the flooring around the existing radiators to protect it from scuffs, dirt and drips. Old radiators can still hold dark water and iron oxide sludge after draining, and a spill can leave marks on the timber.
Draining the heating system
We isolated the feed from the header tank, drained the system through a hose and opened the radiator vents to let air in as the water level dropped. We kept a cloth beneath the connection to catch drips before disconnecting and removing the old radiators.
Measuring up and adapting the pipework
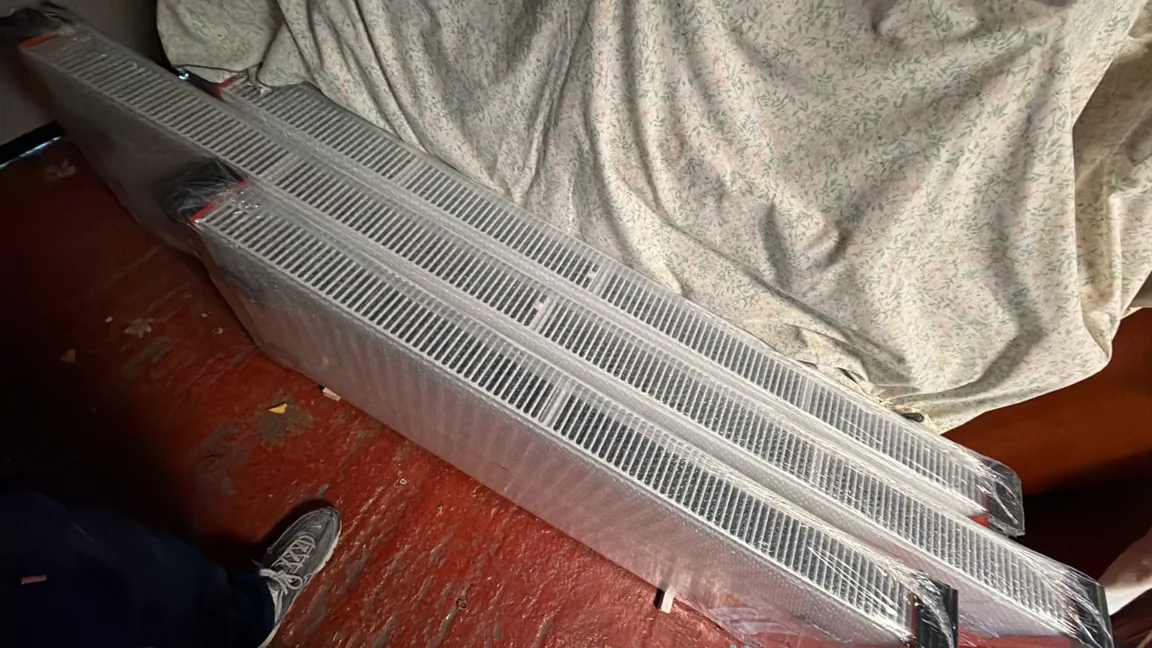
We brought the new radiators into the fitting areas and checked their positions while they were still wrapped. The new brackets and valves didn’t line up with the old ones, so we moved the brackets and adjusted the visible copper pipework above floor level. We used the existing floor openings without lifting or cutting the boards.
Refilling, testing and balancing the heating
Once the radiators were connected, we refilled the heating system and bled the radiators to release trapped air. With the heating running, we checked that each radiator warmed across the panel and balanced the system so the flow was shared between radiators across the house.
At handover, we showed the customer how the thermostatic radiator valves (TRVs) work, so they could adjust the warmth in each room to suit how they use it.